This website contains affiliate links, and some products are gifted by the brand to test. As an Amazon Associate, I earn from qualified purchases. Some of the content on this website was researched and created with the assistance of AI technology.
Key Takeaways
- Flat, single-layer blooms — pansies, violas, wild carrot, larkspur — press the most evenly for ornament work
- Consistent drying pressure combined with moisture-absorbing desiccant packets dramatically cuts wrinkling and color loss
- Working with individual petals instead of whole blooms gives far greater control over detailed ornament design
- Garden cuttings and grocery store bouquets are both underrated, reliable sources for ornament-quality pressing material
- Dry-arranging your botanicals on the ornament before any adhesive touches them saves a lot of second-guessing
- Asymmetrical compositions with one dominant focal bloom often look more artistic than anything rigidly symmetrical
Creating DIY pressed flower Christmas ornaments is one of those projects that looks like it demands serious skill but actually rewards patience far more than talent. I’ve made dozens of these over the years, and the first few were a genuine mess — blooms that wrinkled mid-press, colors that went muddy, petals that curled the moment a glue brush touched them. What changed everything wasn’t some clever technique. It was slowing down at the right moments.
There’s something about hanging a handmade botanical ornament on the Christmas tree that feels genuinely different from a store-bought glass ball. Every single one carries a small memory — the lavender I cut from the backyard in August, the rose petals left over from a birthday arrangement, the pansy faces I pressed in May when they were going wild. This post covers everything from picking the right flowers to building compositions that look deliberate and beautiful, whether you’re brand new to pressing or have been doing it for years.
Pressed Flower Christmas Ornament Planning Table
Choose the pressing method and ornament base before gathering flowers. This comparison matches five common project goals with suitable botanical material, a useful construction approach, and the main mistake to avoid. Use it to plan ornaments that dry fully, assemble neatly, hang securely, store safely, and still look beautifully handmade.
Which Ornament Plan Fits Your Flowers?
Match the project goal with suitable botanical material, the best construction approach, and one problem worth preventing.
| Project Goal | Best Botanical Material | Useful Construction | Avoid This Problem |
|---|---|---|---|
| Fast Beginner Project | Pansies, daisies, thin leaves | Heavy-book press and round cardstock | Thick flowers that remain damp |
| Detailed Mosaic | Individual petals and small fragments | Fine tweezers and tiny adhesive dots | Handling brittle pieces repeatedly |
| Formal Symmetry | Matching petals, ferns, tiny leaves | Plan both halves before gluing | Uneven spacing around the center |
| Personal Keepsake | Best pieces from a meaningful bouquet | Acid-free paper and sparse adhesive | Using damaged or incompletely dry material |
| Long-Term Storage | Fully dry, firmly attached flowers | Flat design in a rigid shallow box | Light, humidity, crushing, and snagging |
Resources:
- Drying Flowers and Foliage for Arrangements | MU Extension
- Art focus: Pressed flowers and leaves / RHS Gardening
- Three simple techniques transform prized flowers into beautiful home decor | Flowers, Fruits, and Frass | Illinois Extension | Illinois
- How to press flowers | Kew
How to Choose Flat Flowers for DIY Pressed Flower Christmas Ornaments
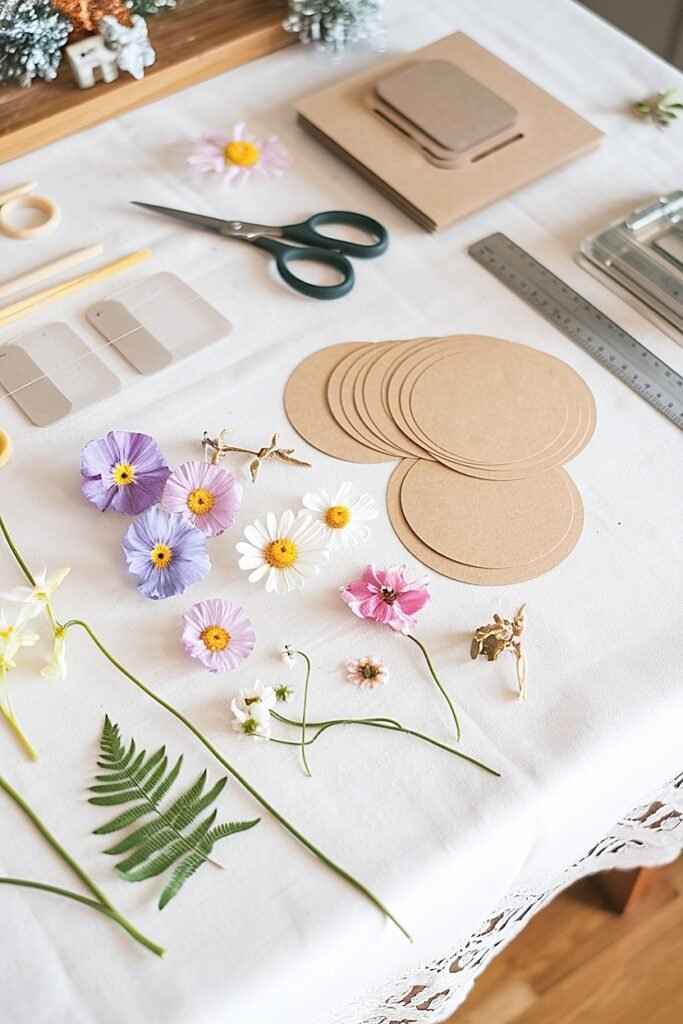
The single biggest mistake I see people make is grabbing the most beautiful flower they can find without thinking about whether it will actually flatten. Dense, three-dimensional blooms — roses in full blossom, large dahlias, tulips with their cupped petals — trap moisture in layers and take forever to dry. When they finally press out, they’re uneven, slightly brown at the thickest spots, and the petals separate in a way that just doesn’t look right when mounted.
What you want instead are flowers that lie flat naturally or nearly so right from the start. Pansies and violas are practically purpose-built for pressing — they lie down with almost no coaxing. Wild carrot presses into these delicate, lacy discs that look beautiful as background fillers. Larkspur, statice, and forget-me-nots all respond very well to pressure because their petals are thin and they have no bulky floral structures fighting you. Single-layer daisy family flowers — black-eyed Susans, feverfew, and coneflowers with centers removed — are also excellent choices because they produce consistent scale across an entire project.
When I’m cutting specifically for pressing, I look for blooms that are just one day past their peak — not wilted, but past that first-day turgid fullness. That window is almost always the sweet spot. Flowers pressed then hold their color better, flatten faster, and adhere more cleanly to the ornament base at final assembly.
If you find yourself drawn to roses or other fuller varieties, that’s perfectly fine — just work petal by petal rather than with whole blooms. That technique is covered in depth later, and it opens up a completely different level of design possibility. For other botanical ways to decorate your home this season, check out this guide to poinsettia-free Christmas house plant decor — it’s full of ideas worth exploring. If this post has been useful so far, sharing it with a friend who loves holiday crafting would genuinely make my day.
There’s still quite a bit more to unpack in this article — keep reading for pressing techniques and design ideas that can completely change how your finished ornaments look.
Easy Ideas for Keeping Pressed Flowers Flat and Even
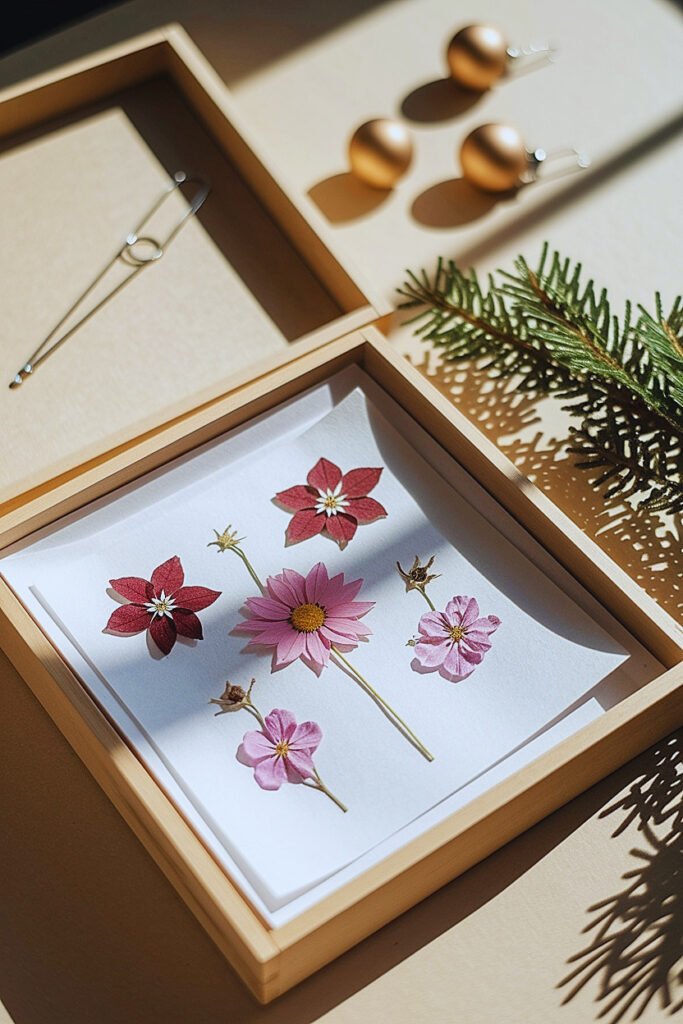
Getting flowers to press flat sounds simple in theory. In practice, there are specific habits that make or break the results, and skipping even one of them can leave you with wrinkled, uneven petals that won’t lie cleanly when it’s time to assemble. The good news is that none of these are difficult once you understand why each one matters.
Here are five of the best and most reliable approaches I rely on:
1. Use a Dedicated Flower Press With Adjustable Bolts A wooden press with wing nuts gives dramatically more control than book stacking ever will. You can tighten the bolts incrementally as the flowers release moisture over the first 24 hours, then tighten again on day two before leaving them undisturbed. That progressive pressure keeps petals lying flat instead of rippling as moisture escapes unevenly. I check mine twice in the first 48 hours — that’s typically enough to catch the worst warping before it sets permanently.
2. Place Silica Gel Desiccant Packets Inside the Press Tucking a few desiccant pouches directly into the pressing layers alongside your flowers dramatically accelerates moisture removal from the paper. Less moisture means less time for petals to wrinkle or brown before they’re fully set. Silica gel refill packs are inexpensive in bulk online. I swap mine out every three or four sessions. This one addition cut my average pressing time from three weeks down to closer to ten days.
3. Press Between Two Sheets of Watercolor Paper Standard newsprint and copy paper wick moisture adequately, but 90 lb cold-press watercolor paper does it more evenly and without leaving texture impressions on delicate petals. The slight absorbency creates a micro-cushion that conforms to subtle curves in thin blooms. This matters most for viola-family flowers, where the center carries a slightly raised ridge that cheap paper flattens unevenly. One pad lasts dozens of sessions and is worth every penny.
4. Flatten Thick Centers With a Bamboo Skewer Before Pressing Any flower with a raised or bumpy center — even otherwise relatively flat ones — benefits from having that center gently crushed before going into the press. I use the blunt end of a bamboo skewer, applying light downward pressure to redistribute the thickness so the whole bloom sits at a more uniform depth. This takes about ten seconds per bloom and completely eliminates the uneven drying that happens when a dense center dries at a different rate than the surrounding thin petals.
5. Change the Pressing Paper After 48 Hours The first two days of pressing pull out a surprising amount of moisture, and the surrounding paper gets saturated faster than most people expect. Leaving flowers against wet paper stalls the drying process and encourages browning. I always transfer my flowers to a fresh set of dry sheets on day two, handling them with fine tweezers. The color retention improvement is immediately noticeable — purple and blue flowers, the most vulnerable to color shift, benefit the most from this single habit.
This section covers the pressing fundamentals, but the rest of the article gets into petal-by-petal technique and composition ideas worth knowing before you start assembling anything.
How to Press Individual Petals for Detailed Christmas Ornaments
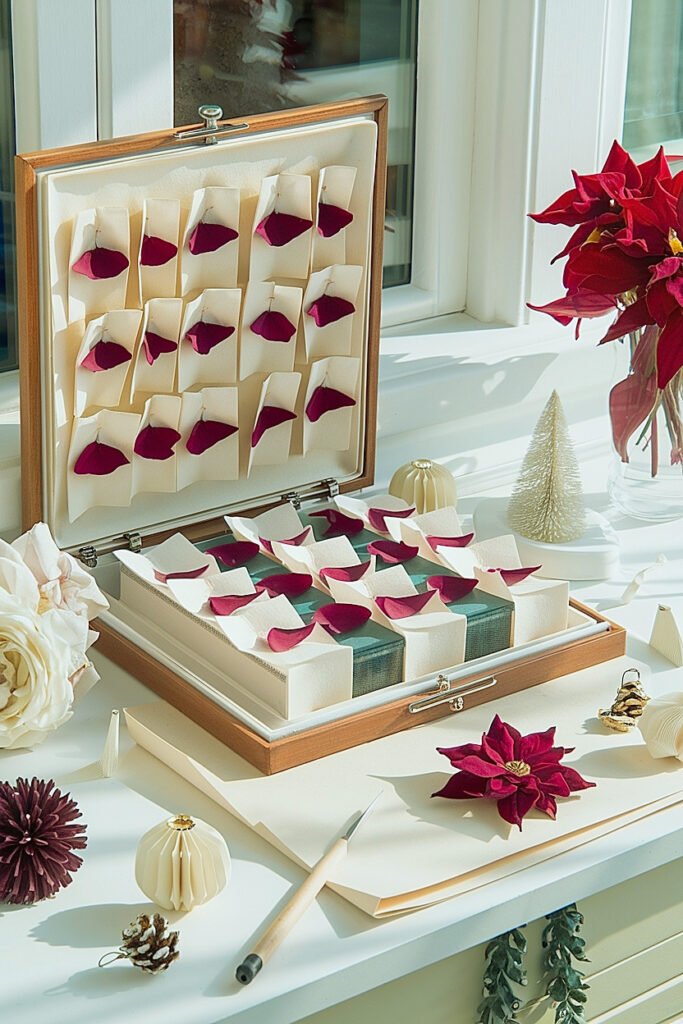
Pressing whole flowers is the starting point, but individual petals are where the real design potential opens. The moment you begin working petal by petal, you gain the ability to build layered, detailed compositions that look almost painted — exactly the quality that makes a pressed flower ornament feel like a piece of art rather than a simple craft.
The key to petal pressing is harvesting at the right moisture level and always handling each petal with the right tool. Fine-tip tweezers for everything — not fingers, which introduce oils that cause bruising even when your hands feel clean. For roses, I remove petals starting from the outermost ring, working inward toward the fresher ones. The outer petals often carry natural fold creases, which can actually be useful for adding texture and movement to a finished composition.
Once petals are separated, lay each one individually on the drying paper with clear space between them. Overlapping petals will fuse mid-press, and separating them later without causing tears is nearly impossible. If a petal has a strong natural curl along one edge, place a small piece of parchment over that edge and let the press weight work gradually rather than forcing it flat immediately. Forcing it in one pass causes tearing far more often than people expect.
Rose petals pressed this way — especially deep burgundy or warm apricot varieties — come out of the press looking almost translucent and luminous. They layer beautifully over other botanicals, and because each petal has consistent thickness, they adhere far more cleanly than whole blooms with uneven depth.
There’s more ahead on sourcing and arrangement — keep reading to get the most out of every pressing session.
DIY Ideas for Sourcing Ornament Flowers From Gardens and Bouquets
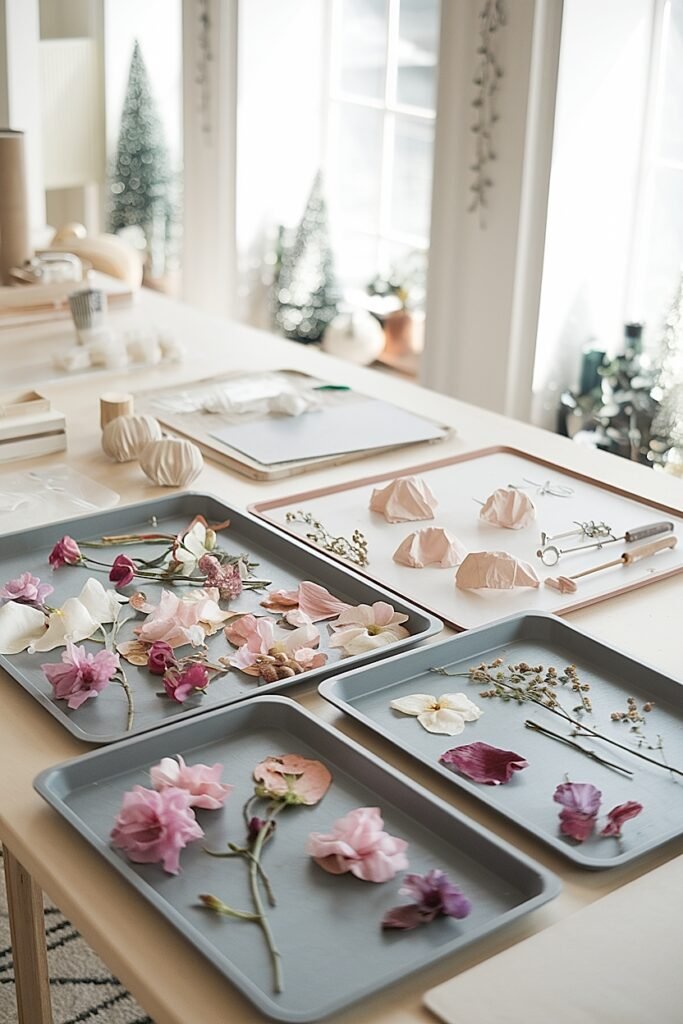
Great pressing material doesn’t require a specialty supplier or a cutting garden. Some of the best botanicals I’ve worked with came from places I wouldn’t have thought to look before I started paying attention.
1. Cut From Your Own Garden in the Mid-Morning Window Mid-morning is the ideal harvest window — dew has evaporated, afternoon heat hasn’t stressed the plants, and the blooms are fully hydrated. Perennials like coneflowers, black-eyed Susans, and lavender are especially rewarding because they produce abundantly all season and press with minimal color loss. Make a habit of grabbing a few extras whenever you deadhead and pressing them immediately.
2. Rescue Petals From Grocery Store Bouquets Bouquet flowers past their prime are ideal pressing candidates — they’re often slightly dehydrated already, meaning less moisture to remove. Before tossing a bunch of ranunculus or spray roses, strip the best petals and press them flat. Grocery store floral sections carry color options a home garden rarely can — deep plum, warm coral, and true salmon all show up there regularly.
3. Ask Local Florists for Their End-of-Week Discards Florists throw away large quantities of perfectly good blooms each week — too mature to sell but ideal for pressing. A friendly ask can get you a steady supply of high-quality material for free or nearly so. They often carry unusual varieties unavailable at retail, and pressed flowers from those sources make ornament work that genuinely stands out at any craft fair or holiday gathering.
Keep reading — the sections ahead cover arrangement strategies and design approaches that tie all of this material together into something you’ll actually want to hang on the tree.
Ways to Arrange Pressed Flowers Before Final Ornament Assembly
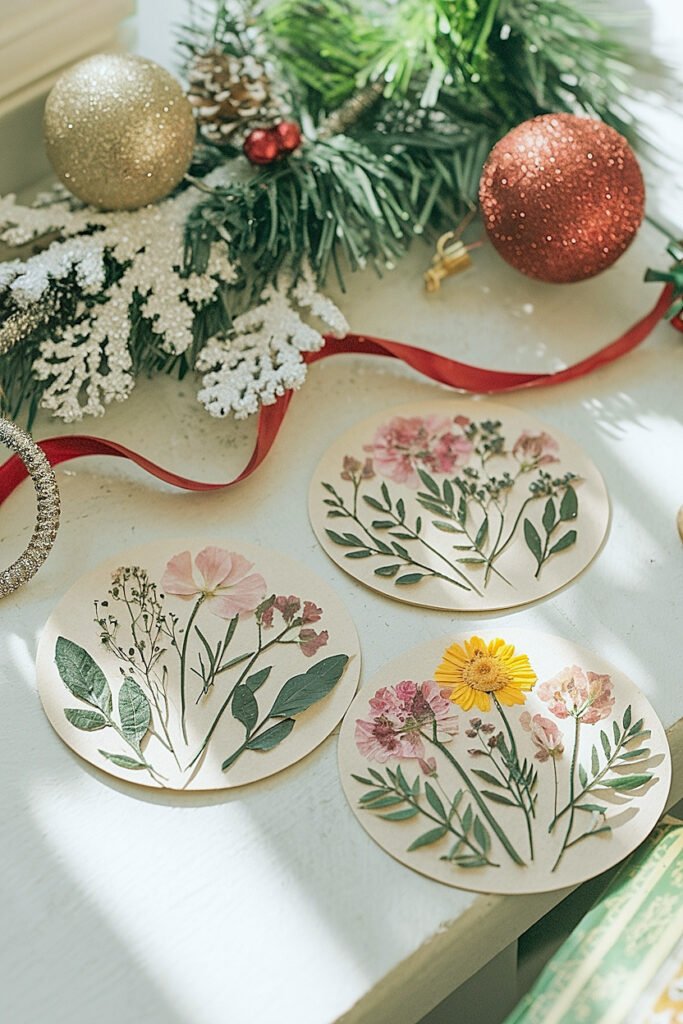
I never glue anything on the first pass. Dry-arranging every element on the base — setting each botanical in place without adhesive and stepping back to evaluate — is the single habit that has improved my finished ornaments more than anything else. Rearranging dry botanicals takes ten seconds. Rearranging glued ones usually means starting over.
Here are the three best arrangement approaches before committing to assembly:
1. Build From Background to Foreground in Distinct Layers Start with the smallest filler elements — forget-me-nots or individual statice florets — then work forward to your focal bloom. This order lets you judge scale at every stage before committing. Adjusting anything after the main bloom is placed risks disturbing the whole composition, and the resulting depth catches tree light beautifully.
2. Use a Light Box or Window to Check Transparency and Balance Holding your dry-arranged base up to a window reveals color depth and gaps invisible under flat room lighting. Some combinations that look balanced normally appear muddy or unexpectedly gorgeous when backlit. This ten-second check has saved me from committing to arrangements I would have regretted once the sealant was down.
3. Photograph the Arrangement Before Gluing Take a quick phone photo before the glue brush comes out. When an element gets knocked mid-assembly — which happens more than I’d like — you have a clear reference. Photos also help when replicating a composition across multiple matching ornaments, especially in gift sets where visual consistency is part of the appeal.
What follows covers symmetrical designs and some of the bolder compositional ideas that make these ornaments truly memorable.
Easy Ideas for Symmetrical Pressed Flower Christmas Ornament Designs
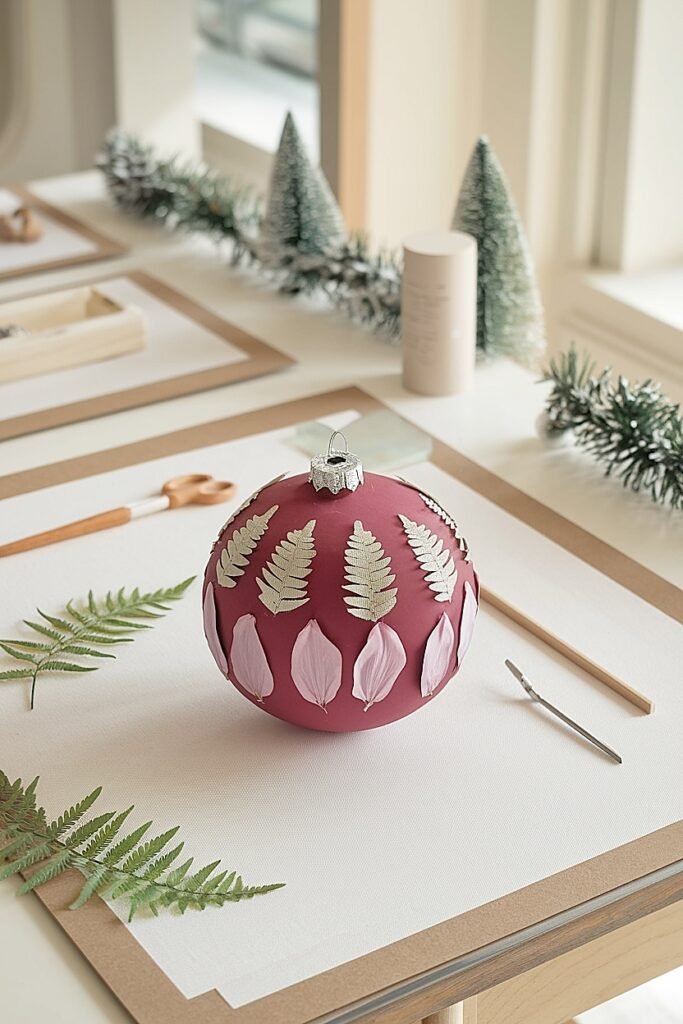
Symmetry gives a botanical ornament a formal, polished quality that feels very fitting for Christmas decor. You don’t need perfect botanical specimens to pull it off. Consistent, deliberate placement does most of the heavy lifting, and even slightly irregular natural forms read as intentional when the overall structure is balanced.
1. Use a Centering Guide Drawn on Paper Beneath the Ornament Draw a simple cross or radial guide on paper and set it beneath your clear ornament base. The lines show right through, letting you place petals symmetrically without guessing distances by eye. This works especially well for radial designs where four or six matched petals fan outward from a central focal point. Remove the guide once assembly is done — no residue, fully reusable.
2. Mirror Blooms Symmetrically Across a Central Axis Choose one bold pressed bloom as your centerpiece, then mirror smaller complementary flowers on either side of a horizontal or vertical axis. Two violas flanking a central larkspur sprig creates an elegant triptych that reads clearly even on a small ornament. The mirroring structure implies order even when individual flowers aren’t perfectly matched in shape or size.
3. Build a Wreath Ring of Evenly Spaced Small Blooms Arrange six to eight small uniform blooms in a circular ring around the outer edge of the ornament, evenly spaced. This wreath-style layout creates instant visual symmetry without requiring any single element to carry the design. A small botanical accent at the middle draws the eye inward. Light pencil spacing marks before gluing keep everything exactly where you want it.
Still more ahead — keep reading for star ornament construction and the more fanciful compositions that let you really explore what pressed botanicals can do.
How to Create Star-Shaped Pressed Flower Christmas Ornaments
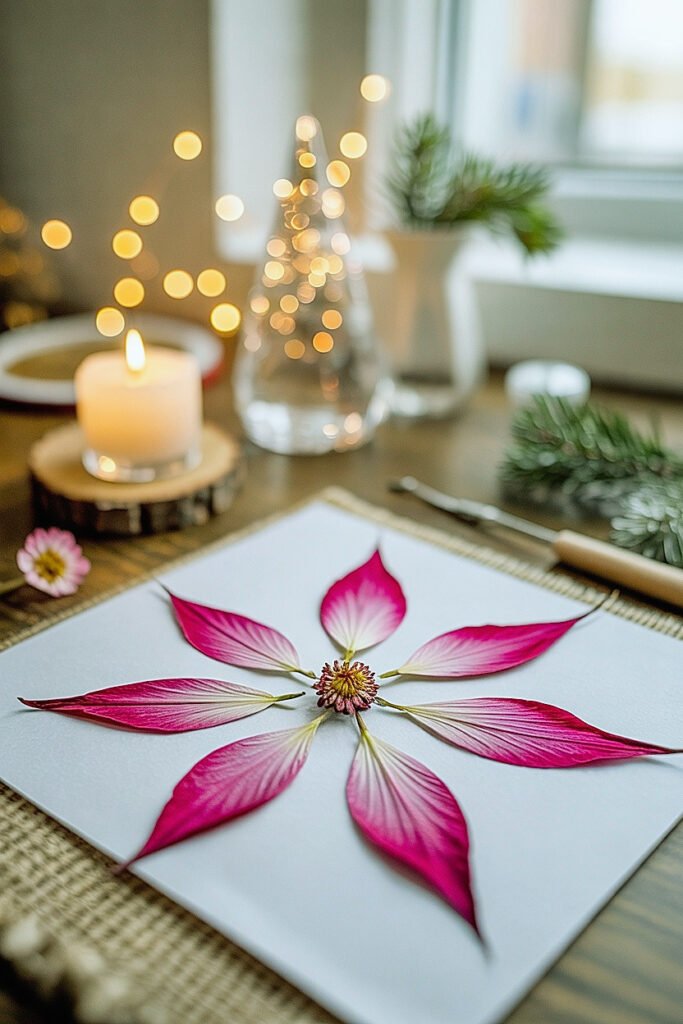
A star-shaped ornament composition is one of the most satisfying things to build from pressed material because it translates so naturally from botanical forms. Elongated petals, spiky florets, and narrow leaf shapes all carry inherent directionality that makes five-point and six-point arrangements feel almost intuitive once you’ve tried them.
The most approachable approach uses five matched petals — from a large rose or peony — laid in a fan arrangement with tips pointed outward. Because pressed rose petals carry a subtle natural curve along their edges, arranging them with curves all facing the same direction creates a composition that catches tree light the way static, flat arrangements simply can’t. The slight variance between petals adds character rather than detracting from it.
For a more graphic star, dried larkspur florets are outstanding. Strip individual florets from the stem and arrange them tip to tip in a five-point configuration, with a small accent flower placed where all points converge. Larkspur presses to a thin, saturated intensity — deep blue and purple especially — and the effect is crisp and striking.
Before gluing anything down, tuck fine filler beneath the petal tips. Wild carrot laid underneath gives the composition a lace-on-velvet effect that makes the focal star pop considerably. The finished piece photographs beautifully against tree lights and makes a genuinely thoughtful gift.
Creative Ways to Build Fanciful Pressed Flower Ornament Compositions
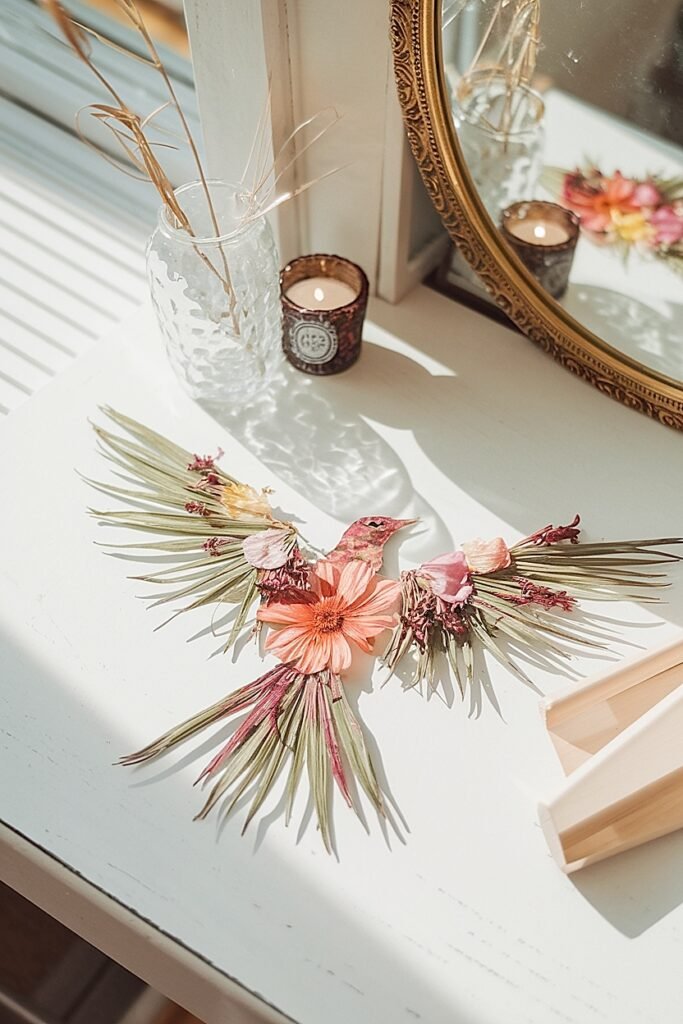
Some of my favorite ornaments follow no particular structural rule. A fanciful composition departs from strict geometry — variety of botanical elements, organic movement, and intentional layering do the work that symmetry would otherwise handle.
Here are three approaches I keep returning to:
1. Build a Cascading Vine-and-Bloom Composition Arrange pressed leaves and slender stems in a diagonal sweep across the ornament’s face, mimicking a vine in growth. Anchor small blooms at irregular intervals along it, as though they’ve just opened. Fern fronds, herb stems, or fine grass blades all work well as the vine element. That quality of living directionality is something no strictly symmetrical design can replicate.
2. Create a Loose Cluster With One Dominant Center Bloom Choose one bloom that’s notably larger or bolder than everything else — a pressed cosmos, a ranunculus petal, or a pansy face — and build outward from it with progressively smaller elements. Let the cluster breathe on one side and grow denser on the other. Asymmetry handled with clear intention looks deliberate and artistic, and it gives each ornament a genuinely one-of-a-kind character.
3. Layer Translucent Petals Over a Botanical Print Background Press a few thin, translucent petals — pale pink or white roses work best — and lay them over a large pressed leaf on the ornament surface. The translucency lets the background show through slightly, producing a depth effect that reads almost like watercolor painting. Resin or high-gloss sealant intensifies that quality and locks both layers together so the result looks genuinely professional.
Conclusion
Handmade pressed flower ornaments reward attention to small details more than raw crafting skill. Choosing the right botanicals, nailing the pressing fundamentals, and thinking through your compositions before committing anything to glue — those three things, done consistently, will take you from mediocre results to ornaments you’re genuinely proud to hang or give.
Start simple. Press a batch of flat-petaled spring blooms, build a straightforward star or wreath composition on your first ornament, and let yourself get a feel for the materials before chasing complicated designs. Once you understand how pressed botanicals behave under sealant and how flower types interact visually at ornament scale, bolder compositions come naturally.
Most importantly, press the flowers that actually mean something to you. The lavender from your front walkway. The rose your daughter brought you at the end of summer. The tiny wildflowers from a weekend hike you pressed flat between the pages of your journal. Those small details are what make a handmade Christmas ornament genuinely irreplaceable — and no craft store in the world sells that.
This website contains affiliate links, and some products are gifted by the brand to test. As an Amazon Associate, I earn from qualified purchases. Some of the content on this website was researched and created with the assistance of AI technology.