This website contains affiliate links, and some products are gifted by the brand to test. As an Amazon Associate, I earn from qualified purchases. Some of the content on this website was researched and created with the assistance of AI technology.
Key Takeaways
- Measure along the actual railing surface following the stair pitch rather than the horizontal distance between newel posts, then add at least twenty percent for attachment gathering and swagged sections
- Fresh garland on a bare wood railing transfers moisture and tannin that can leave marks on finished wood. Always put something between the wet garland and the surface before you attach anything
- Conditioning flowers overnight in cool water with floral preservative before the build gives stems the internal hydration they need to hold through a weekend without continuous water access
- Mark all attachment points on the railing before touching a single stem so the spacing stays consistent across the full run instead of drifting uneven where you got rushed mid-build
- Spray chrysanthemums, lisianthus, and cockscomb celosia hold significantly better in water-limited garland conditions than most other fresh flowers
- A swagged garland that dips below the rail between anchor points uses more material than a straight run but creates a more dramatic entry impression
The first time I did a stair railing garland for Thanksgiving, I bought what I thought was plenty of flowers, ran out halfway up, and had to drive back to the store on a Wednesday afternoon the day before guests arrived. Not ideal.
Creating DIY Thanksgiving flower garlands for stair railings starts with a measurement problem that gets almost everyone on the first try. A staircase looks like it should take about the same amount of garland as a horizontal run of the same distance. It does not, because you are not draping the garland flat. You are following the pitch of the stairs, which adds length, and you are gathering material at every attachment point, which adds more. Underestimating by thirty percent on a long staircase is common enough that I now treat the measurements as the most important part of the whole project.
Get the measuring right and almost everything else becomes manageable.
Thanksgiving Stair-Garland Planning Table
Use this planner before buying flowers or fastening anything to your staircase. Each row matches a railing situation with a layout, a practical attachment approach, and the freshness issue likely to matter. Start with safe access, accurate measurements, protected finishes, and realistic flower longevity; decorative choices come afterward for success.
Which Garland Plan Fits Your Staircase?
Compare railing shape, visual layout, attachment strategy, and freshness priorities before assembling the flowers.
| Railing Situation | Best Layout | Attachment Plan | Freshness Priority |
|---|---|---|---|
| Long Straight Rail | Close-following line or shallow repeated drapes | Even supports plus reinforcement at heavy clusters | Use durable flowers throughout and hydrate focal groups |
| Short Railing | One concentrated accent near the lower post | Two or three cushioned connections | Install flowers close to gathering time |
| Landing Turn | Modular sections meeting at one focal cluster | Extra support before and after the direction change | Place the most hydrated flowers at the accessible landing |
| Split-Level Stairs | Matching modules scaled to each separate rail | Repeat the same support spacing on both levels | Condition every flower batch together for consistency |
| Smooth Metal Rail | Lightweight close-following garland | Padded loops spaced closely enough to resist sliding | Limit heavy reservoirs and check connections frequently |
Resources:
- How to Hang Holiday Garlands Without Damage
- Holiday Decorating Tips From A Professional Florist
- Holiday Decorating Guidelines – Environmental Health & Safety – University of Richmond
- Attaching Flowers and Garland on Stairs
How to Measure Stair Railings for a DIY Thanksgiving Flower Garland
This is where people go wrong, and I went wrong here for longer than I would like to admit.
The instinct is to measure the width of the staircase at the base, or the horizontal span from the bottom newel post to the top, and use that number for the garland length. But a stair railing follows the diagonal of the staircase. On a standard residential staircase with a pitch somewhere between thirty and thirty-five degrees, the actual railing surface length is roughly fifteen to twenty percent longer than the horizontal distance suggests. That difference gets worse on steeper stairs, and it always costs you material if you ignore it.
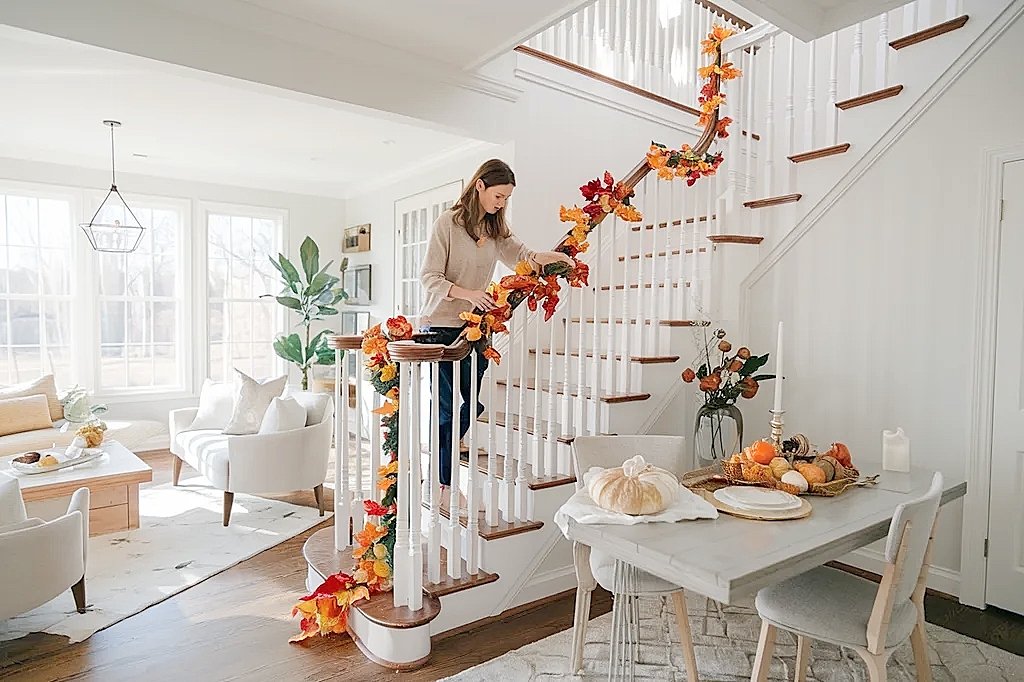
A flexible measuring tape solves this cleanly. Lay it along the actual railing surface from the bottom post to the top, following the rail as it rises. That number is your garland base. If there is a landing or a turn, measure each section separately and add them. Then add twenty percent on top of that measurement before you buy anything. That cushion covers the material that bunches at each anchor point when you loop or tie the garland to the rail, and it covers the extra length consumed by any swagged sections where the garland hangs below the attachment points.
Running short with guests arriving tomorrow is a very specific kind of stress. Buy more than you think you need.
One more thing worth checking before you commit to a heavily hanging swag: how much clearance there is between the garland and the walkable stair width on the side facing the open staircase. Most residential staircases have plenty of room. Some older homes with narrower stairs do not, and a low swag that brushes the shoulder of every guest walking up is not the impression you are going for.
For a completely different approach to Thanksgiving botanical decor that skips the measuring and building entirely, including how to use your existing house plants to create entry displays that hold through the whole weekend, see Thanksgiving decor using living house plants instead of cut flowers. If this article is helping you plan your holiday staircase, pass it along to someone who has been asking what to do with their railing.
Ideas for Protecting Wood Railings Under Thanksgiving Flower Garlands
This is the step most garland tutorials skip.
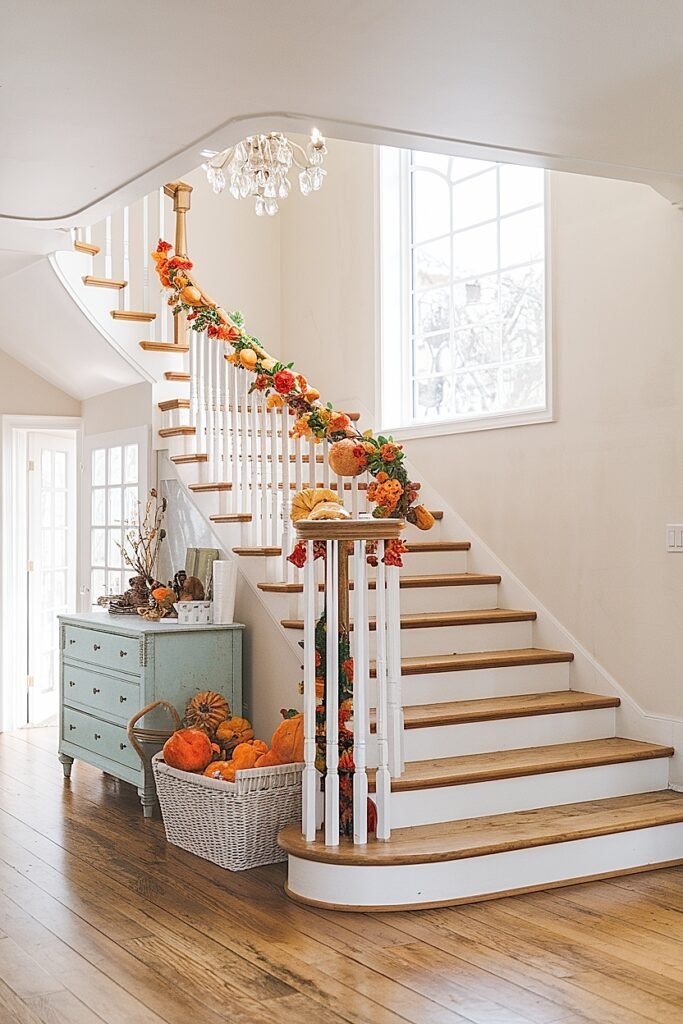
Fresh stems and wet foliage release moisture throughout the display period. That moisture transfers directly to whatever the garland is resting on. On finished hardwood it can leave tannin transfers and water marks that are not always obvious while the garland is up, but show clearly once it comes down and you are looking at bare wood. You want to know this before Thanksgiving, not after.
There is more useful information ahead on conditioning that directly affects how long every stem in the garland holds. Worth reading before you buy anything.
1. Plastic Sheeting Cut Into Narrow Strips Thin plastic drop cloth from the paint section at any hardware store, cut into two-to-three-inch strips and run along the full railing length under the garland, creates a continuous moisture barrier between wet foliage and the wood. Fresh stems release water throughout a multi-day display, and that moisture transfers directly to the finish. The plastic is invisible behind the garland, handles every railing surface, and peels off without leaving residue.
2. Waterproof Floral Tape at Each Attachment Point Waterproof green floral tape wrapped around the railing at each planned tie point creates a dry buffer zone exactly where the garland contacts the surface. Three tight wraps before you attach anything is enough. The tape sticks to itself with no adhesive, conforms to the railing profile without bunching, and removes cleanly after the holiday without pulling paint or leaving marks on natural wood or lacquered finishes.
3. Wax Paper Strips Along the Railing Top A strip of wax paper laid under the garland along the top of the railing provides basic moisture protection using something most kitchens already have. Wax paper does not stick to any railing surface and leaves no residue on removal. It works well for properly conditioned garlands in heated indoor environments where moisture loss from stems is gradual, and replacing it on day two extends protection through a full weekend.
4. Foam Pipe Insulation Sleeve Over the Railing Foam pipe insulation, sold at hardware stores in diameters that fit most residential railing profiles, split lengthwise and pressed over the railing top, cushions the garland contact point while blocking moisture transfer. The foam distributes garland weight across a broader area than a narrow tie point does, which reduces the indentation marks that wire ties can press into softer wood finishes over several days of display.
5. Clear Packing Tape at Individual Tie Positions A small piece of clear packing tape on the railing surface at each planned wire tie position protects the finish from the indentation and sap contact that can happen when wire sits against a bare surface for multiple days. Test on a hidden section first, particularly on natural wood finishes, where packing tape adhesive can affect the surface. This works best as supplemental protection at anchor points on railings already protected along the open spans.
How to Condition Fresh Flowers for a Thanksgiving Stair Garland
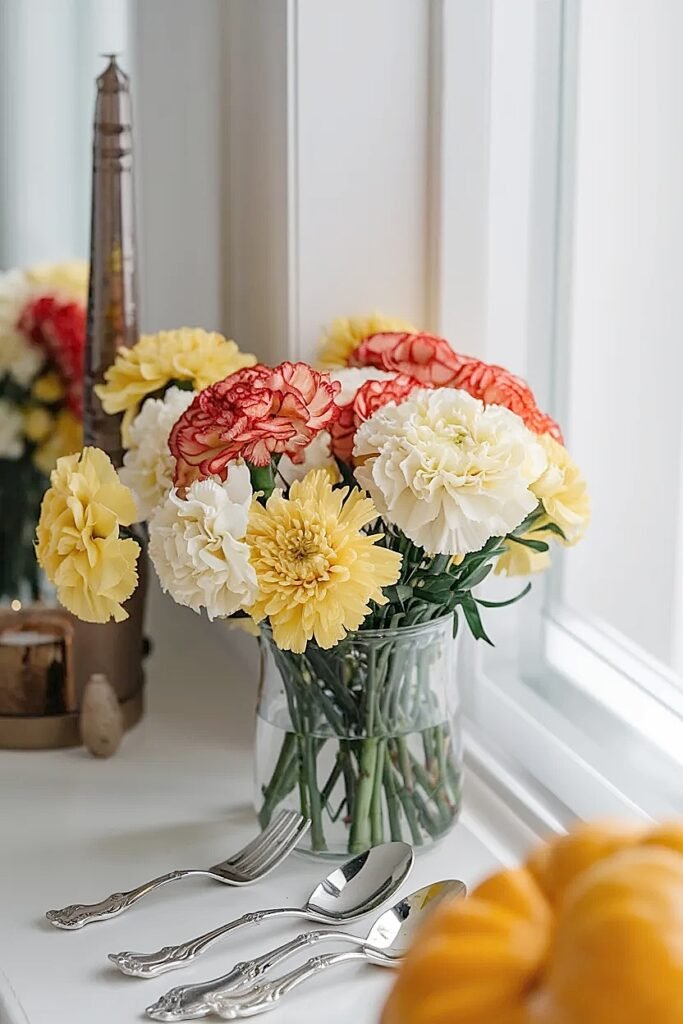
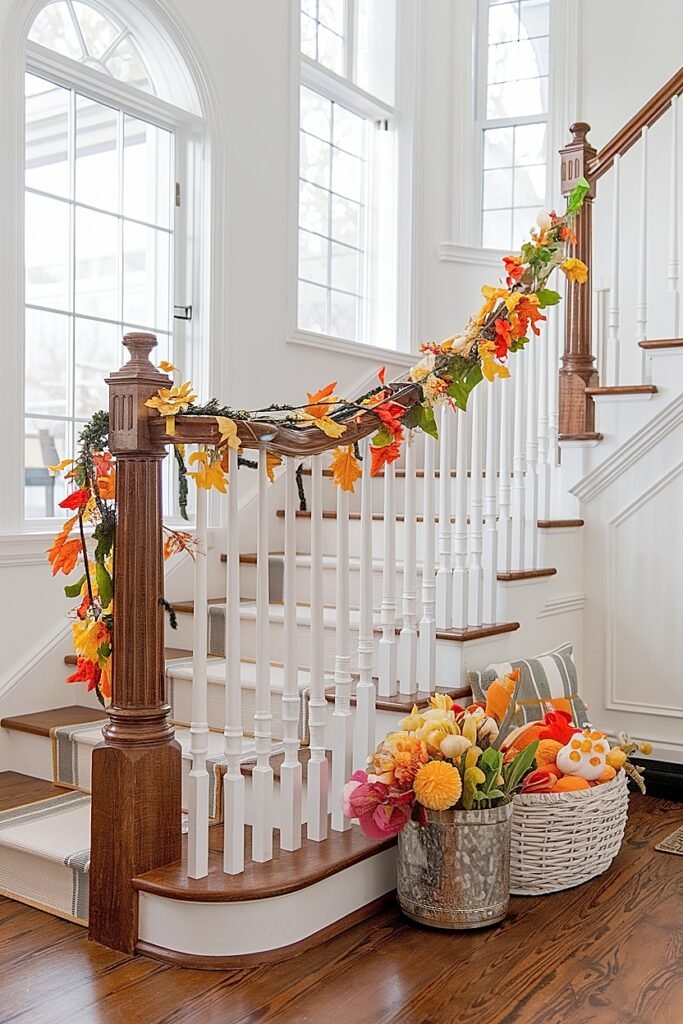
Garland flowers need more preparation than vase flowers. In a vase, stems sit in water continuously. A garland stem gets cut, wired, and positioned in ways that limit water access during the build and throughout the display. The stem has to carry that water-limited period on whatever hydration it stored before assembly, because it cannot replenish. Skipping conditioning to save a few hours is one of the fastest ways to end up with a drooping garland by Friday morning.
Eight hours minimum in clean cool water with floral preservative. I condition overnight, starting the evening before I build. Put freshly cut stems in preservative solution for the first thirty minutes to get initial uptake going, then move the bucket somewhere cooler, around sixty degrees. A cool basement or unheated garage in November is often a better spot than the refrigerator, because most home refrigerators run between thirty-five and thirty-eight degrees, which is cold enough to cause damage to tropical flower varieties and slow uptake in cold-sensitive stems.
Re-cut every stem on a diagonal immediately before putting it in the conditioning bucket. A fresh angled cut creates more surface area for uptake and removes the air bubble that forms in the cut end within a few minutes. This is the highest-impact step in the whole process and it takes about three seconds per stem.
DIY Ideas for Mapping Thanksgiving Garland Anchor Points on Railings
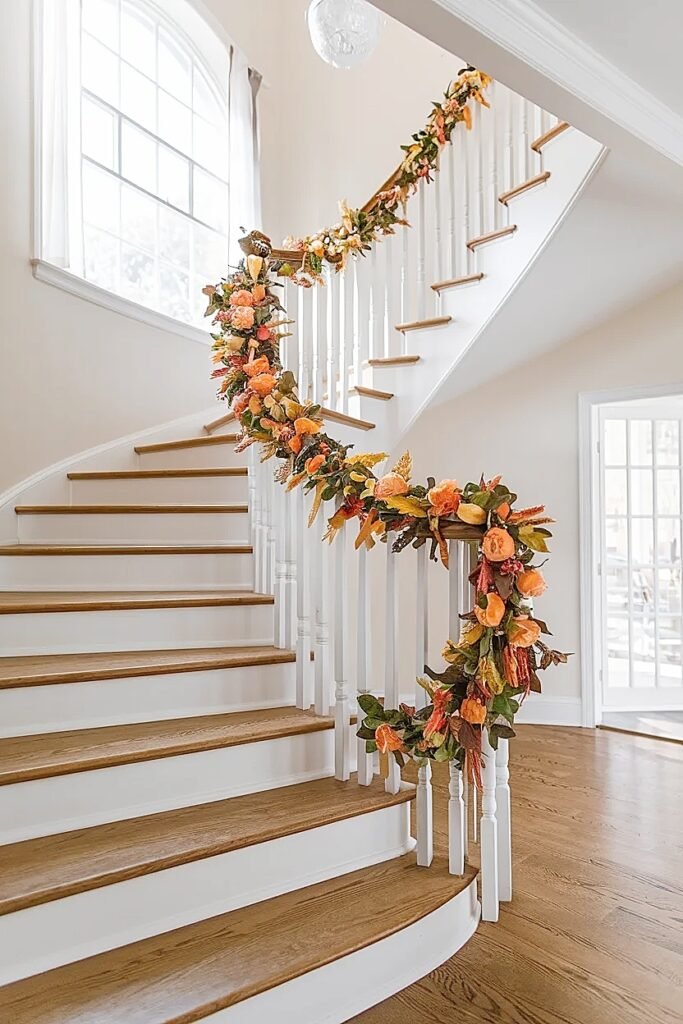
Uneven spacing is one of the things people notice without knowing why. Mark everything before you start, not as you go.
More ahead on the specific flowers that hold in garland conditions, because this choice is where a lot of people lose money on flowers that wilt by Friday.
1. Painter’s Tape Marks at Twelve-Inch Intervals Strips of blue painter’s tape placed at twelve-inch intervals along the railing before the build begin keep attachment spacing consistent across the full run. The marks are visible while you work but covered by the garland material everywhere except the very ends, and painter’s tape removes cleanly from any railing finish.
2. Tie at Every Other Baluster On staircases with standard balusters spaced at five to six inches, tying the garland to every other baluster gives a ten-to-twelve-inch anchor interval without measuring each point individually. Works well for straight light-weight runs. Heavier garlands with large flower clusters or thick foliage should anchor at every baluster.
3. Double the Attachment at Both Newel Posts The top and bottom newel posts carry more load than any mid-span tie because they are where all hanging tension concentrates at the ends. Two attachment points at each post, one at the base and one just above where the rail meets the post face, prevents slipping and keeps the garland from shifting.
4. Extra Anchor at the Lowest Point of Each Swag In a swagged layout, the lowest point of each dip concentrates the weight of the hanging material below. Adding a tie at the bottom of each swag in addition to the upper attachment positions keeps the swag depth consistent throughout the display and prevents the gradual sagging that pulls at nearby upper anchor points.
5. Color Code Marks for Multiple Attachment Types When using wire ties at mid-railing baluster points and decorative ribbon bows at the newel posts, color-coded tape marks at each planned attachment type during the mapping stage prevent hardware mistakes mid-build. This is particularly useful when two people are assembling the garland from opposite ends of the staircase simultaneously.
What Are Durable Flowers for a Water-Limited Thanksgiving Garland?
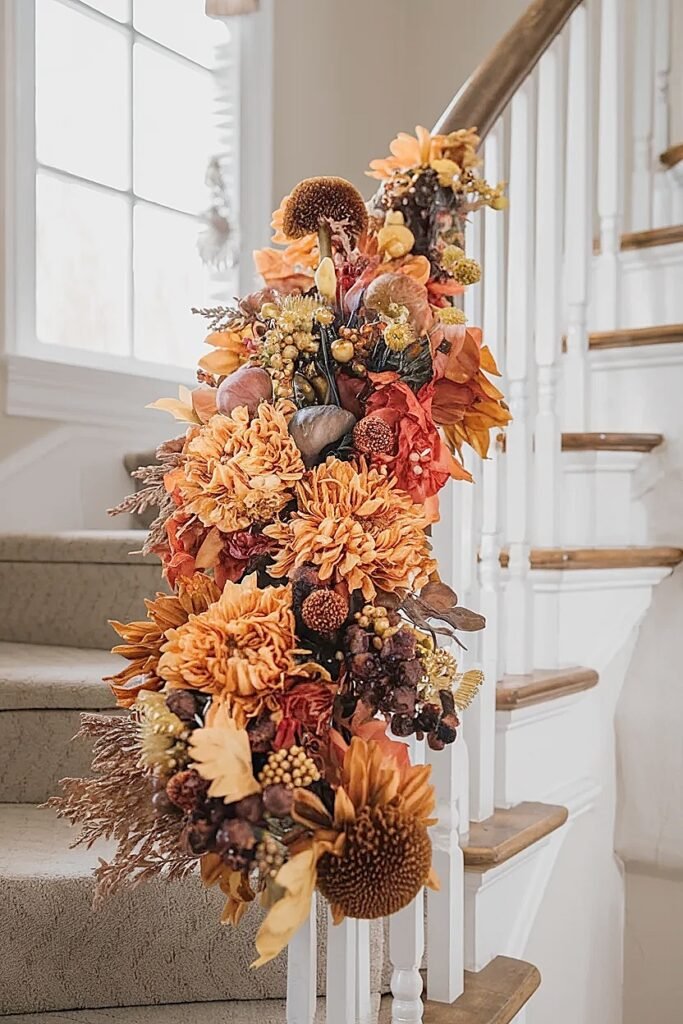
Most garland tutorials say to use fresh flowers and leave it at that.
What they do not say is that fresh flowers vary enormously in how long they hold without continuous water. A rose in a garland on Tuesday is a brown thing by Friday. A spray mum under the same conditions on Tuesday still looks good on Saturday. The flowers you choose matter more than almost any other decision in this project, and the choices that work best are specific.
The section ahead on preservative covers three methods that extend garland life past what conditioning alone achieves.
1. Spray Chrysanthemums Spray mums hold better in garland conditions than almost any other fresh flower. The stems are dense and woody, the petals tightly packed, and the moisture retention in the flower head is high. Conditioned overnight, spray mums in a water-limited garland hold three to five days and come in rust, amber, gold, and burgundy.
2. Lisianthus Lisianthus petals have a natural waxy quality that slows surface moisture loss compared to thinner-petaled varieties, which matters in a garland with no continuous water source. Properly conditioned lisianthus holds two to four days without access to water. Available in deep purple, white, and lavender, which layer well into autumn compositions.
3. Cockscomb Celosia The cockscomb flower head is dense and slightly spongy, which holds moisture longer than a conventional bloom of similar size. Deep red, orange, and wine cockscombs add harvest color and strong texture to a garland. They condition easily, hold three to four days without continuous water, and read clearly at entry range.
Ways to Hydrate Thanksgiving Garland Flowers With Floral Preservative
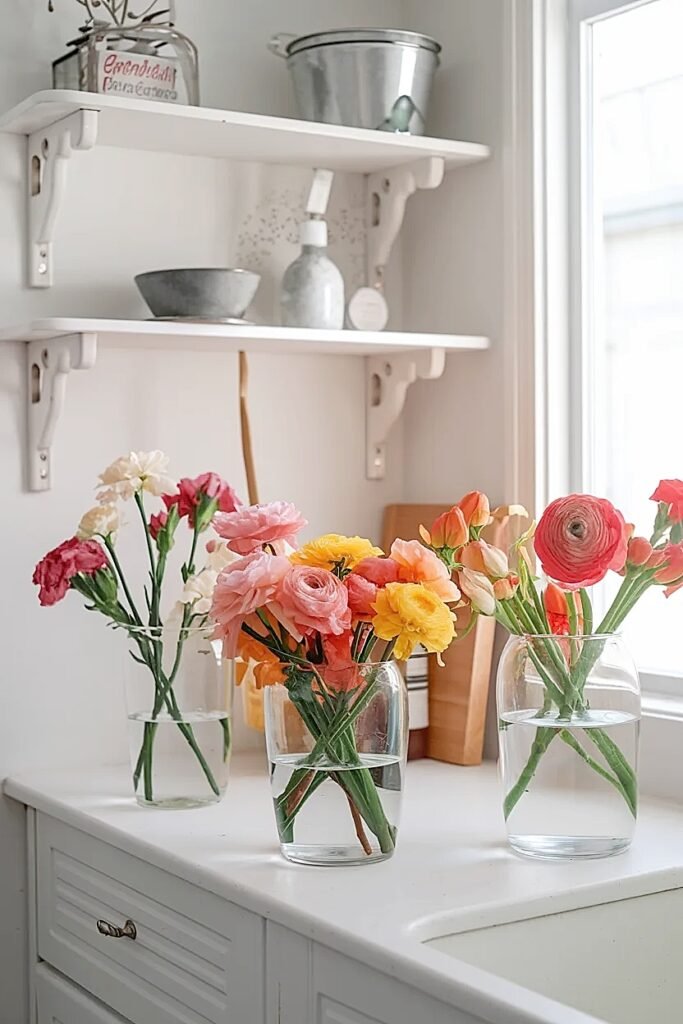
There is more ahead on support spacing, which affects both how the garland looks from across a room and how long it stays in position.
1. Preservative Solution During Conditioning Mix floral preservative into clean water at the label concentration and condition all garland stems for at least eight hours before the build. The preservative feeds the stem with a sugar source, lowers water pH to improve uptake, and slows bacterial growth that clogs stem vessels and causes premature wilting.
2. Water Picks on Individual Stems Small plastic water picks, sealed tubes filled with preservative solution and pushed onto individual stem ends before those stems go into the garland base, extend hydration by six to twelve hours past what conditioning alone provides. Most useful on higher-moisture flowers that would otherwise decline before lower-water varieties like mums show any stress.
3. Preservative Mist on the Assembled Garland A fine mist of diluted preservative solution sprayed directly on flower surfaces once every twelve hours slows moisture loss through the petals from the outside. Use a plant mister on the finest spray setting and keep the mist light enough that no water drips onto the railing surface below the garland.
How to Space Thanksgiving Flower Garland Supports Evenly
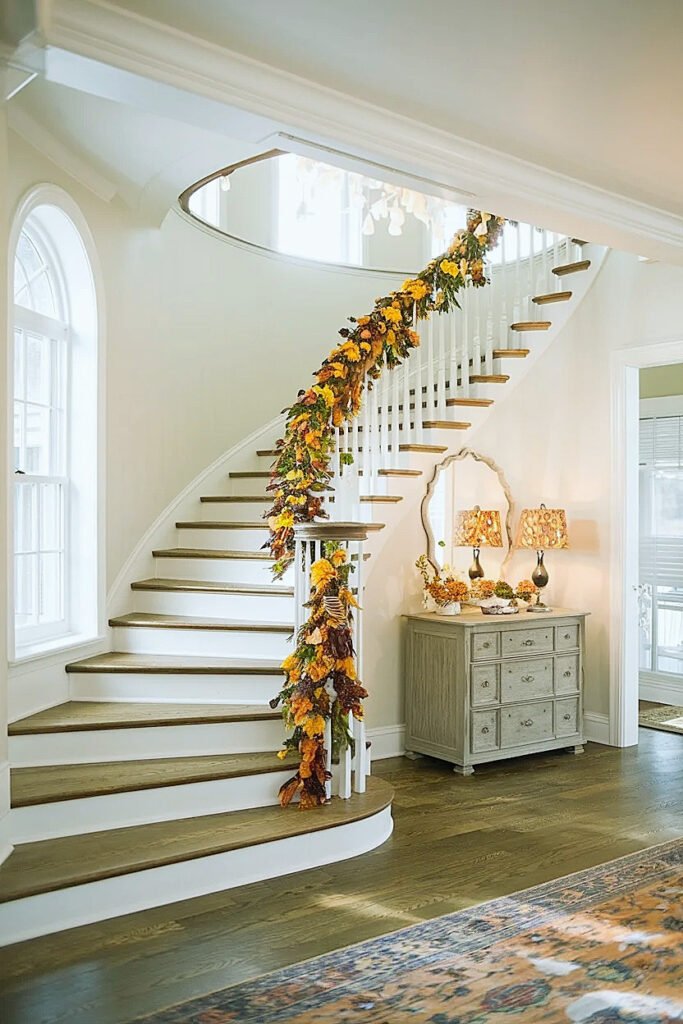
Uneven support spacing shows up in photos and it shows up in person.
When anchor points drift at irregular intervals, the garland weight distributes unevenly and the material hangs differently from section to section. One span looks tight. The next looks dropped. The eye catches the inconsistency immediately in an entry where the full stair length is visible from the front door, and the garland stops looking like something that was made with care.
The fix is to plan the spacing before touching a single stem. Measure the railing length, pick an interval, divide, and mark every point with painter’s tape while your hands are free. For a twelve-foot railing at twelve-inch intervals, that is twelve marks. For a swagged layout at twenty-four-inch intervals, that is six. Fifteen minutes of planning before the build makes the whole run visually consistent. Doing it by feel while building makes it subtly wrong everywhere and there is no way to fix it once the garland is attached.
Support interval depends on weight. A light foliage-and-berry base can span twenty-four inches without visible sag. Medium builds with fresh flowers and eucalyptus are more stable at sixteen to eighteen inches. Heavy garlands with large flower clusters need a tie every twelve inches or closer. When in doubt, go shorter. An extra tie point is invisible. A missing one shows.
The three layouts ahead each create a different impression from across a room and up close. The choice matters.
What Are the Best Straight and Swagged Thanksgiving Garland Layouts?
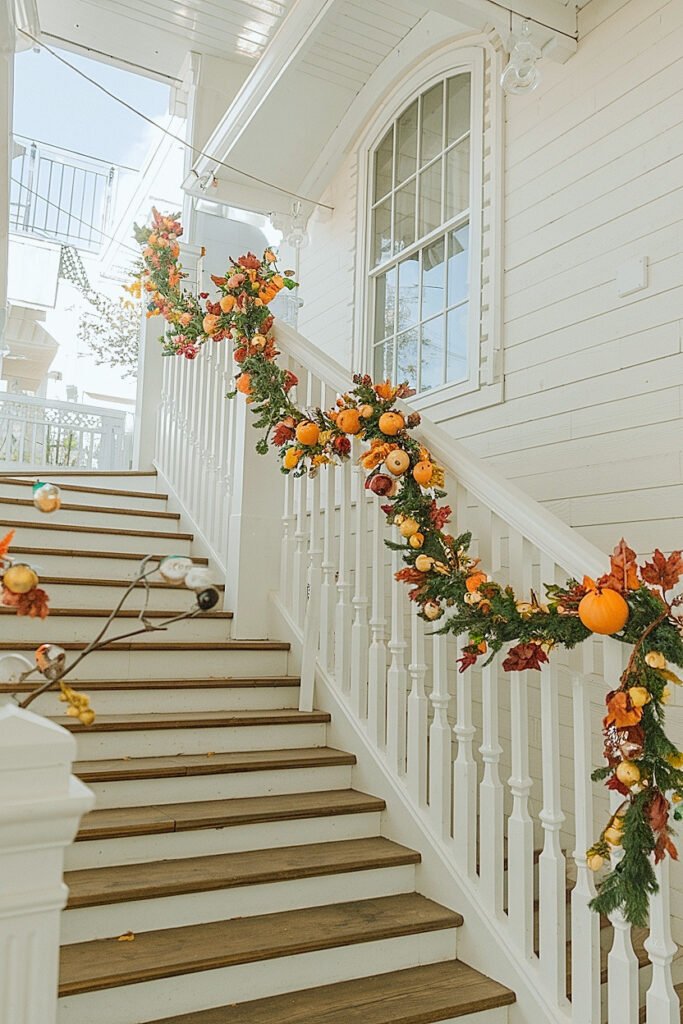
1. Straight Run Along the Top of the Rail The garland sits on top of the railing cap and runs straight across the full stair length without hanging below the rail at any point. Flower faces angle upward and slightly outward, which means they read clearly from below as guests approach the staircase from the entry.
2. Full Swag Below the Rail at Even Intervals The garland attaches at the railing and hangs below in repeating dips of the same depth across the full stair length. This layout uses more material than a straight run because the hanging swags consume additional length, but the movement it creates at eye level is more dramatic than any flat layout.
3. Diagonal Line With Focal Clusters at Each Newel Post The garland runs in a clean diagonal line following the natural rise of the stair, with no swag, and with concentrated flower clusters or ribbon bows tied at both newel posts. The diagonal reads as structured and intentional, and the accent clusters give the garland a defined start and end point.
Conclusion
The stair railing garland fails in predictable places.
Not enough material because the measurements were done horizontally instead of along the actual rail. Nothing between wet stems and a finished wood surface. Flowers that went into the garland without any conditioning and showed it by Friday morning. Attachment points placed by feel rather than measurement.
None of these are complicated problems. None of them are hard to prevent once you know what causes them. The prep work is the work. Once you have the right amount of material, conditioned stems, a protected railing, and marked anchor points, the assembly is the part you get to enjoy.
Your guests walk through that entry. The staircase is the first thing they see. A garland done right stays with them longer than the meal does.
This website contains affiliate links, and some products are gifted by the brand to test. As an Amazon Associate, I earn from qualified purchases. Some of the content on this website was researched and created with the assistance of AI technology.